Colour is where a lot of creators either do nothing or fall down a rabbit hole for three hours chasing a film look the video does not need. The useful target sits between the two: shots that match each other and look deliberate. Consistent beats cinematic, and consistent is reachable in ten minutes.
The cost of skipping it is subtle but real. Untouched footage often looks slightly flat and slightly grey, and shots filmed minutes apart can jump in brightness and tone, which reads to a viewer as cheap without them knowing why. The colour pass removes that low hum of amateur, and that is most of the job.
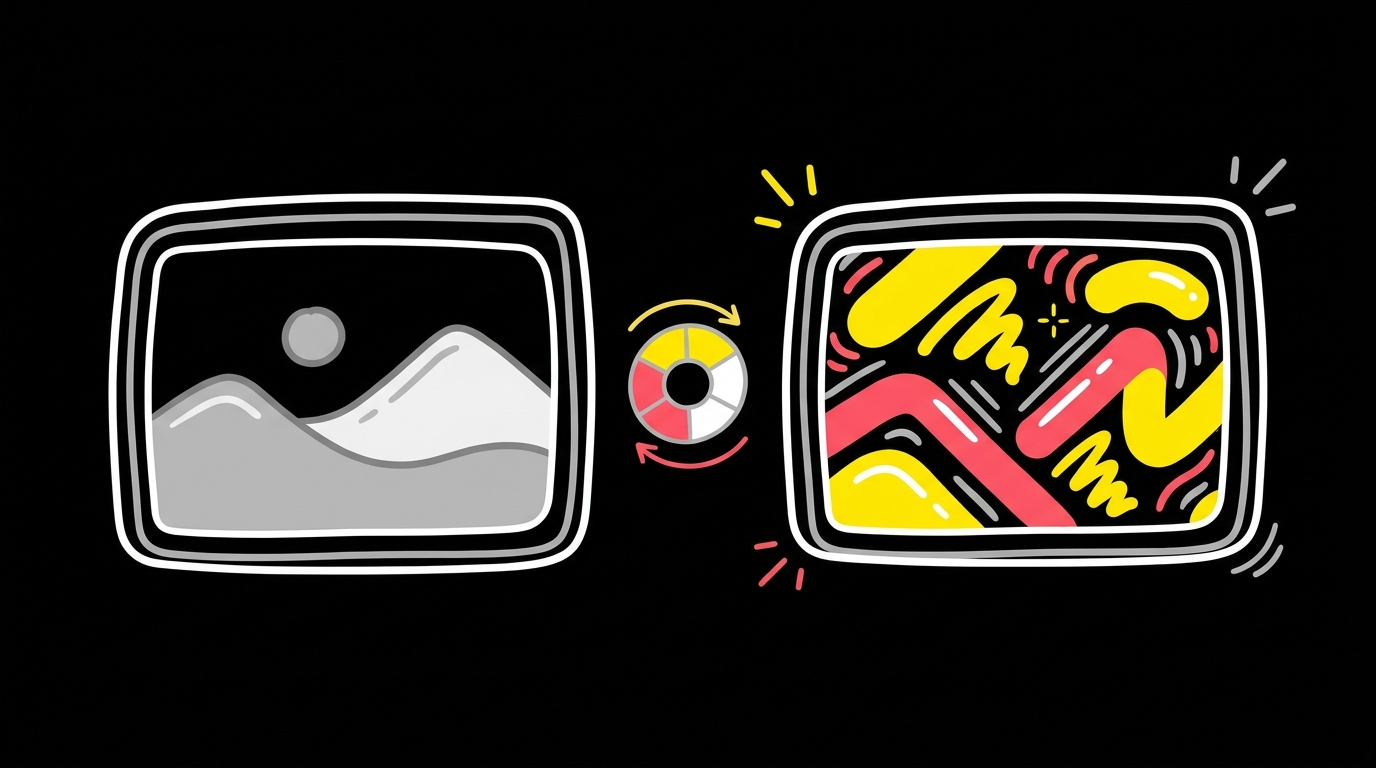
Correction first, grade second
Two different things hide under the word colour, and they happen in order.
| Correction | Grade |
|---|---|
| Fixes problems: exposure, white balance, matching shots | Adds a look: mood, warmth, a consistent style |
| Needed on almost every video | Optional, and easy to overdo |
| Makes footage look correct | Makes footage look like yours |
Correction is the part that matters most and the part most creators skip. Get your exposure right, set a neutral white balance so whites are actually white, and match your shots so the cut does not flash brighter and cooler every few seconds. That alone lifts a video more than any filter.
Find a look and reuse it
Once your correction is solid, a light grade can give the channel a recognisable feel: a touch warmer, a little more contrast, whatever suits your content. Find it once and save it, then apply the same starting point to every video. A channel that looks consistent from video to video feels more professional than one that reinvents its colour each week.
Resist pushing it hard. Skin tones gone orange, or a grade so heavy the footage looks tinted, is worse than no grade at all. Subtle and repeatable is the whole game.
This is also where graphics land
The visual polish step is where titles, lower thirds and any on-screen graphics go in. Keep them in the same font and style every video, the way you keep the same colour look. Consistency across these small elements is what makes a small channel feel put-together, and it costs nothing once you have set the template once.
Where Chewbr fits
Polish the visuals is step 16 of the 47, the last big creative pass in the edit before the technical finish. After this comes captions and export: the steps that get the finished video out of the editor and ready to upload.
Keep reading
With the picture done, fix the text layer in auto-captions versus fixed captions, then export the master. The shots you are matching were lit back at the pre-filming checklist.